When buying a new laptop I settled for a MacBook Pro with a M2 processor. As I was used to an Intel based MacBook Pro with virtual machines and Docker containers I keep searching for replacements for the functionality I was used to. Earlier I’ve written a blog post about running an Oracle Database on the M2 MacBook pro, this time I’d like to talk about using x86 based containers.
Sometimes you have container images which simple won’t run on the ARM architecture and only function when being run on the x86 architecture. Luckily you can use Apple’s trick to run Intel based binaries on the M2 as well for running x86 based container images. How? By using a combination of UTM (virtual machine) and Rosetta (Apple’s x86 translation tool). Unfortunately this trick does not work for software which makes use of advanced instructions like the Oracle Database (see: Running Oracle on MacBook M2) but it will work for most cases. Apple has a nice article about Rosetta here: https://developer.apple.com/documentation/apple-silicon/about-the-rosetta-translation-environment
So how do we proceed?
First we need to install UTM, I assume Rosetta is already installed as I ran myself into the MacBook asking if I wanted to install it almost immediately when starting to use the machine. You can get UTM at https://mac.getutm.app or in the AppStore.
When UTM is installed it’s time to create an ARM based virtual machine and enable Rosetta.

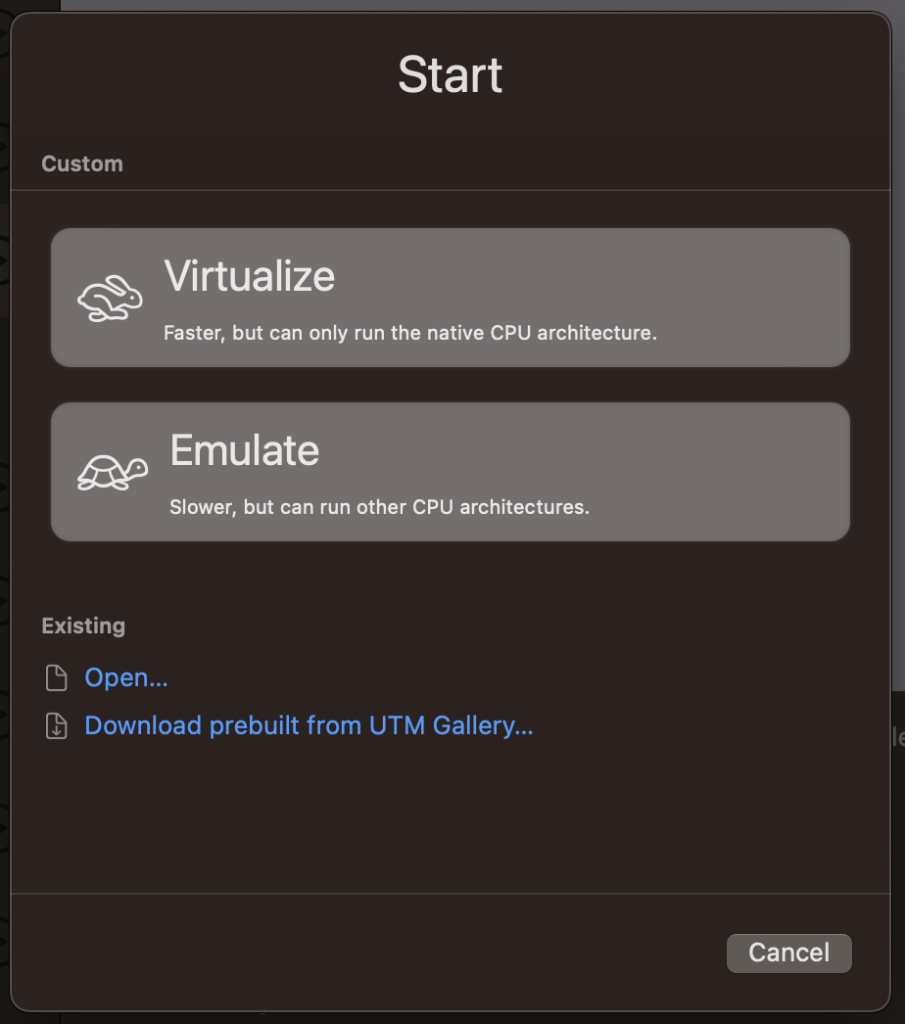
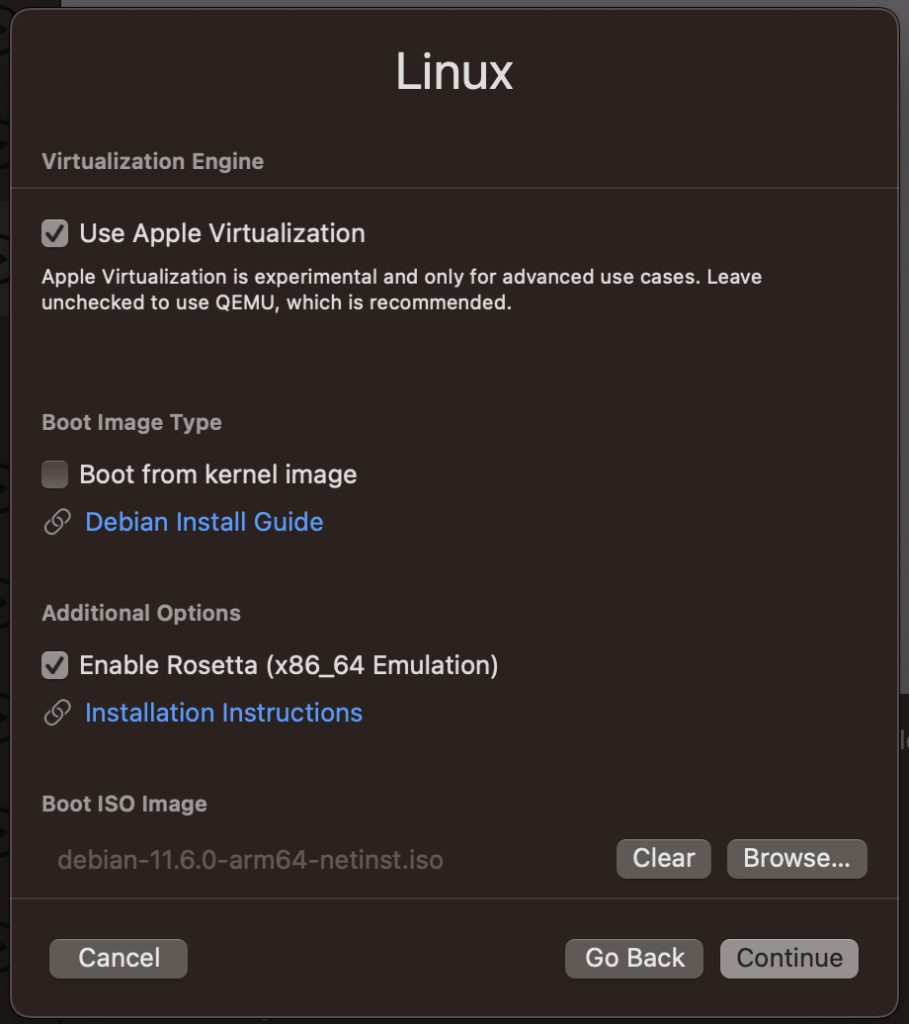
We’re selecting the “Virtualize” option to make use of a virtualized machine. Choose Linux as the operating system and tick both the “Use Apple Virtualization” and the “Enable Rosetta” checkboxes.

I used an arm64 installation of Debian to set-up the virtual machine itself.
Once the machine is installed and configured lets install docker-compose (and Docker) by running apt install docker-compose. The machine is now completely set-up for Docker so let’s set-up Rosetta.
By ticking the checkbox “Enable Rosetta”, Rosetta becomes available via the virtiofs filesystem. A simple mount will make it known within the Linux machine. To mount it, in this case under /media, type the command mount -t virtiofs rosetta /media.
If the command succeeds, a ls -l /media will show rosetta as a command.
Next step is telling Linux to use Rosetta for x86 based binaries. For this, we need to install the support for extra binary formats. The package “binfmt-support” provides this, so install it via apt: apt install binfmt-support.
Once installed we can use the command update-binfmts to tell the Linux kernel to execute Rosetta when a x86 binary is being executed.
/usr/sbin/update-binfmts --install rosetta /media/rosetta \
     --magic "\x7fELF\x02\x01\x01\x00\x00\x00\x00\x00\x00\x00\x00\x00\x02\x00\x3e\x00" \
     --mask "\xff\xff\xff\xff\xff\xfe\xfe\x00\xff\xff\xff\xff\xff\xff\xff\xff\xfe\xff\xff\xff" \
     --credentials yes --preserve no --fix-binary yes
The “magic” value tells the kernel to operate on 64-bit ELF binaries for the AMD x86_64 platform (https://en.wikipedia.org/wiki/Executable_and_Linkable_Format), the “mask” filters out bits which do not matter.
           E  L  F
magic: 7f 45 4c 46 02 01 01 00 00 00 00 00 00 00 00 00 02 00 3e 00
mask : ff ff ff ff ff fe fe 00 ff ff ff ff ff ff ff ff fe ff
                   |                                    |    |
                   |                                    |    \ AMD x86_64
                   \ 64 bit                              \ executable
The machine will now use Rosetta for x86_64 binaries. More from Apple about this: https://developer.apple.com/documentation/virtualization/running_intel_binaries_in_linux_vms_with_rosetta
When the machine is being restarted these commands (mounting Rosetta and telling the kernel to use it) need to be repeated. Therefore I’m using a rc.local script to perform these actions at boot-time. The script also mounts a shared folder if available, if you don’t want that remove the “Mount Share” part.
Note: During bootup the kernel will complain that it cannot enable the “rosetta” binary format. This is due to the fact I’m mounting Rosetta as the last thing during start-up. If you want to get rid of this message, add the rosetta mount to /etc/fstab.
#!/bin/sh
#
# rc.local
#
# Version 1.0

# Mount Share
mount -t virtiofs share /mnt/

# Mount Rosetta
mount -t virtiofs rosetta /media

#Enabled Rosetta
/usr/sbin/update-binfmts --install rosetta /media/rosetta \
     --magic "\x7fELF\x02\x01\x01\x00\x00\x00\x00\x00\x00\x00\x00\x00\x02\x00\x3e\x00" \
     --mask "\xff\xff\xff\xff\xff\xfe\xfe\x00\xff\xff\xff\xff\xff\xff\xff\xff\xfe\xff\xff\xff" \
     --credentials yes --preserve no --fix-binary yes
Now everything has been set-up, let’s test if it actually works…
The test is quite easy, let’s create a docker container for the x86_64 platform and see if it runs. As an example I will be creating a Nextcloud container. The following docker-compose is being used for this test:
version: '2.4'

services:
  db:
    image: mariadb
    platform: "linux/amd64"
    command: --transaction-isolation=READ-COMMITTED --binlog-format=ROW
    restart: always
    volumes:
            - /opt/DockerData/NextCloud/sample/database:/var/lib/mysql
    environment:
      - MYSQL_ROOT_PASSWORD=HJKHJKGGH&*98
      - MYSQL_PASSWORD=sample
      - MYSQL_DATABASE=nextcloud
      - MYSQL_USER=nextcloud

  app:
    image: nextcloud
    platform: "linux/amd64"
    container_name: nextcloud
    ports:
      - 8080:80
    links:
      - db
    volumes:
            - /opt/DockerData/NextCloud/sample/www:/var/www/html
            - /opt/DockerData/NextCloud/sample/external:/mnt
    environment:
            - PHP_UPLOAD_LIMIT=10G
    restart: always
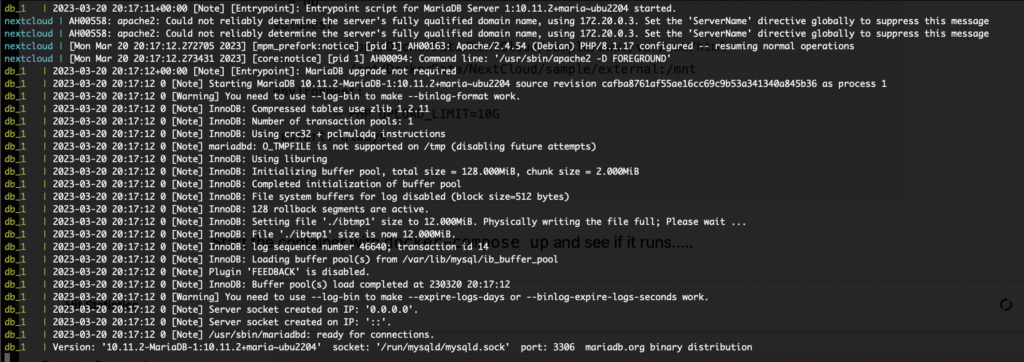
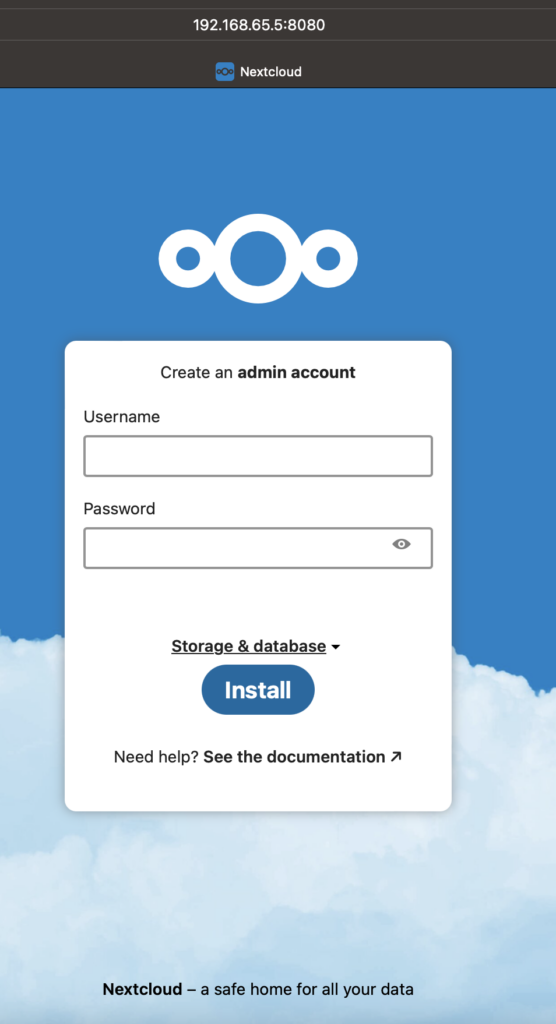
The platform keyword performs the trick of creating a x86_64 container image. Start the container with docker-compose up and see if it runs…..


It seems to work. But is it using Rosetta? We can check it by looking at the process list, so let’s run ps ax

When we look at the output of the ps command we can see Rosetta is being used, in this case for running the Apache webserver and the MariaDB database.
This way we have the possibility to run x86_64 container images. Rosetta is quite capable of translating the x86_64 instructions towards ARM instructions. According to the documentation of Apple not all instructions are being translated so maybe there are images which will not run or behave strangely. But for the most of the images it seems to work.